One of my kids was going to start riding the bus to school many miles from home. My wife took her to school last year but wanted to try out the bus system and take advantage of the transportation. Since my kid was on the bus, my wife wanted her to have a phone if anything came up. I know, I know, none of us had phones until our 20s. Don’t get me started.
Her birthday was near the start of the school year so my in-laws purchased a phone for her. I wasn’t going to buy a new one. I was going to activate an old one. I had one in a drawer collecting dust. Anyhow, the in-laws purchased a phone outright and were very surprised at the cost when you don’t add a monthly installment to your phone service bill.
Now that she had a phone, my wife wanted her to text every morning when she got to school. First, she wanted to have a phone in case something happened. Now she wants a text every day?
I thought I should just implant an RFID chip in her shoulder and track her like a pet. I thought there was no way she would remember to text every day. I recall IFTTT adding iOS location services, so I set her phone up to text automatically every day when she got to school and left school. You can use the same process for any location you choose.
Here is how I did it.
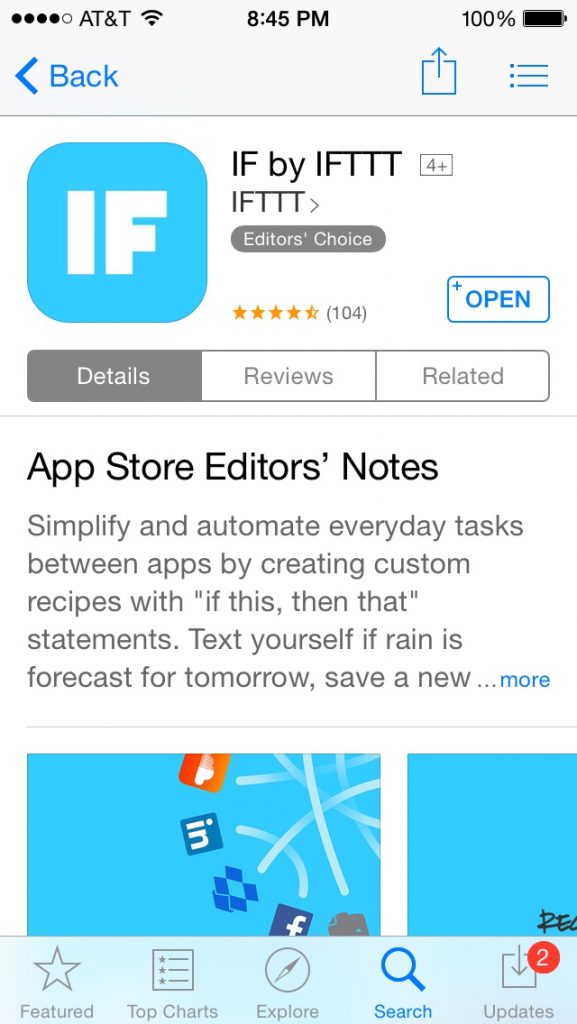
1. Download IFTTT on your kid’s phone and sign up for an account.
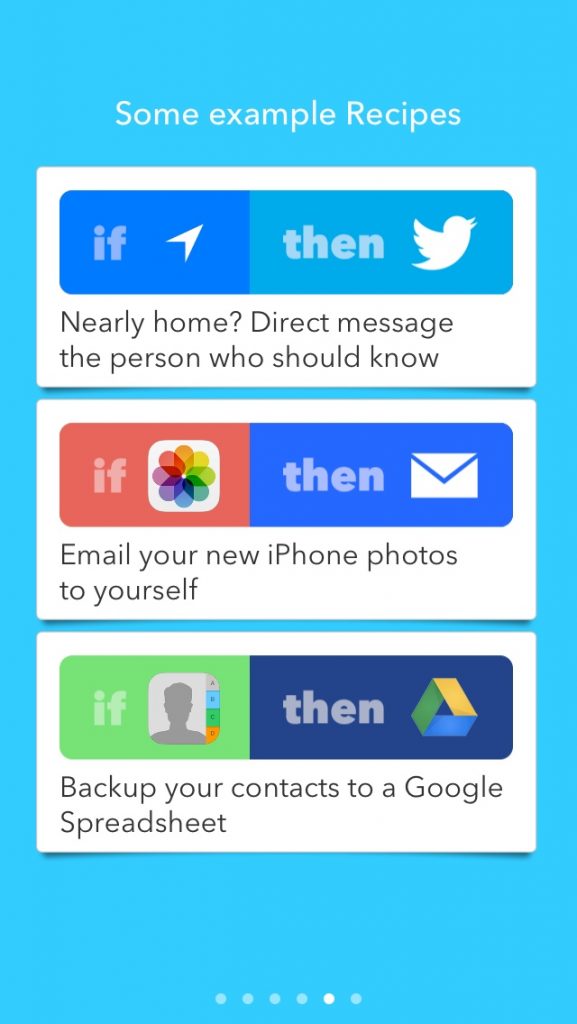
2. Open the app and skip all of the example recipes.
3. Click Create a New recipe and click the blue “+” to set up the “IF”.

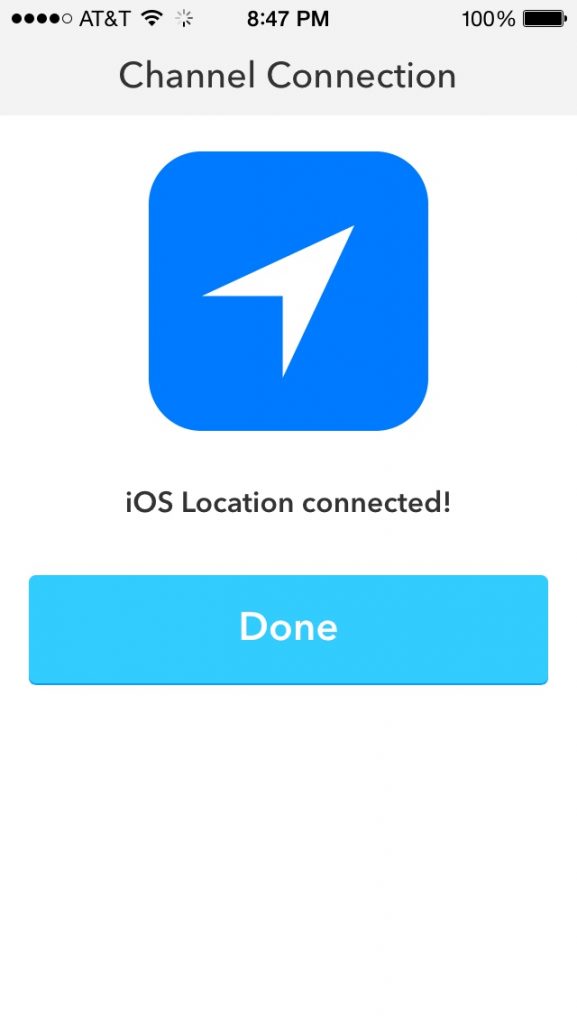
4. Select the blue icon with the white location indicator. This is iOS location.
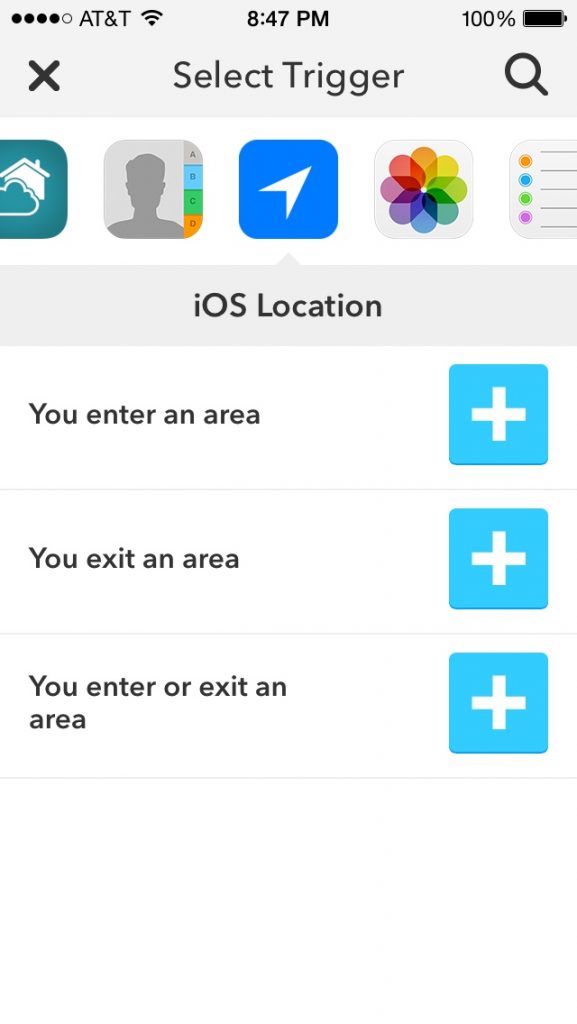
5. When you select iOS location you will have to connect and authenticate the “Channel.”
6. Put in a location or address in the search field. I used “Texas Tech University” in this example.

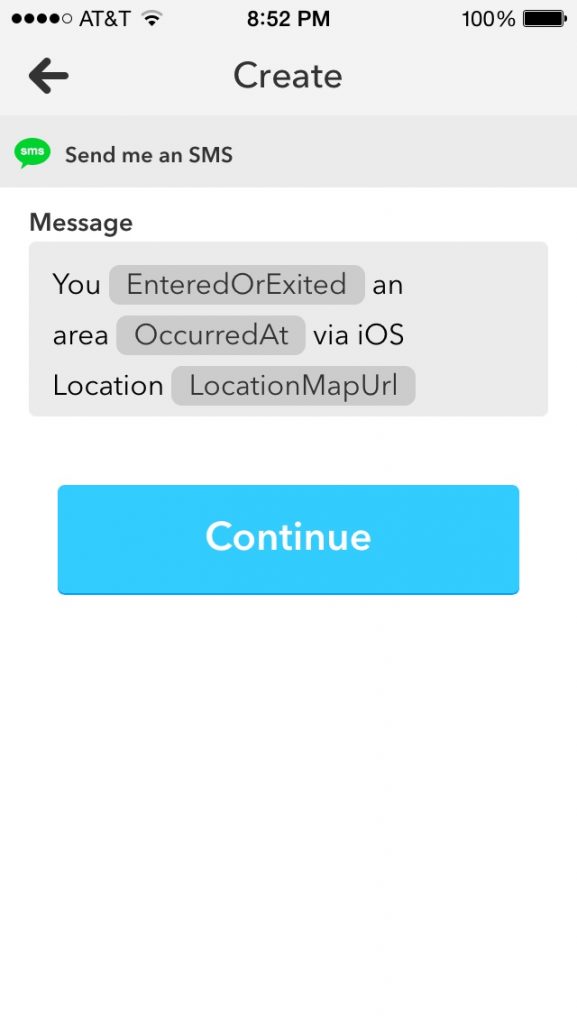
7. Now that you have your “IF” set up it is time to set up your “THEN.” Click the orange “+” to set up your “THEN.”

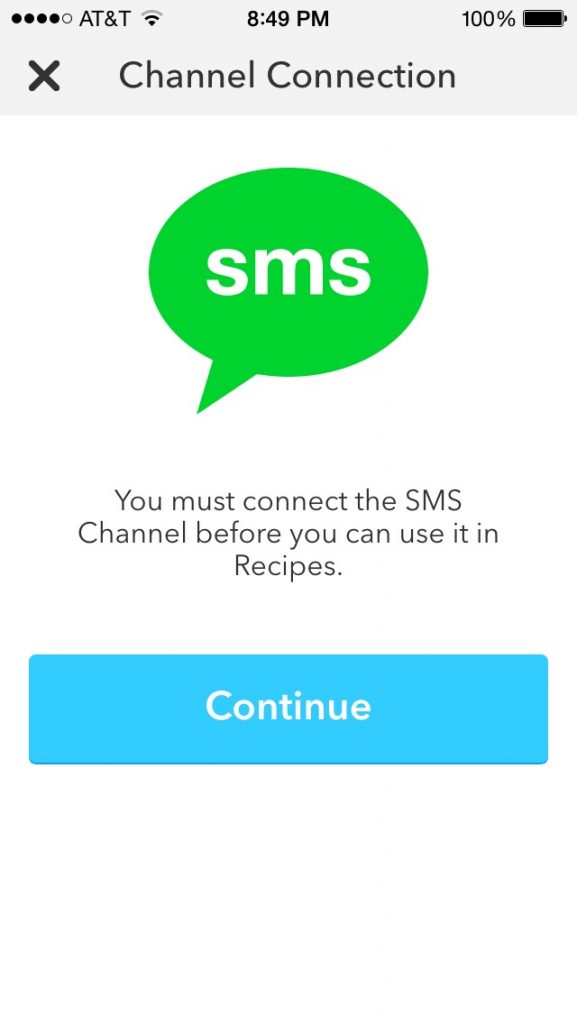
8. Your “THEN” is going to be a text or SMS to you so select the “SMS” service.

9. Connect the SMS service to your recipe. Click Continue and you will enable this connection.
10. The connection process will include validating the phone number to send the SMS to. This is your phone number not your kids number. Realize you are setting up location services on your kid’s phone but the SMS is sent to YOU.
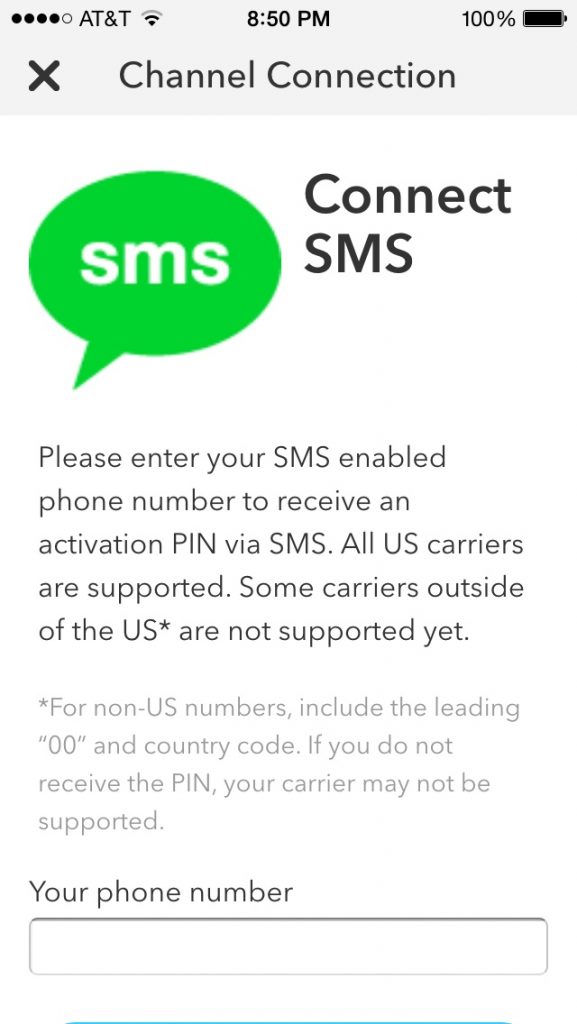
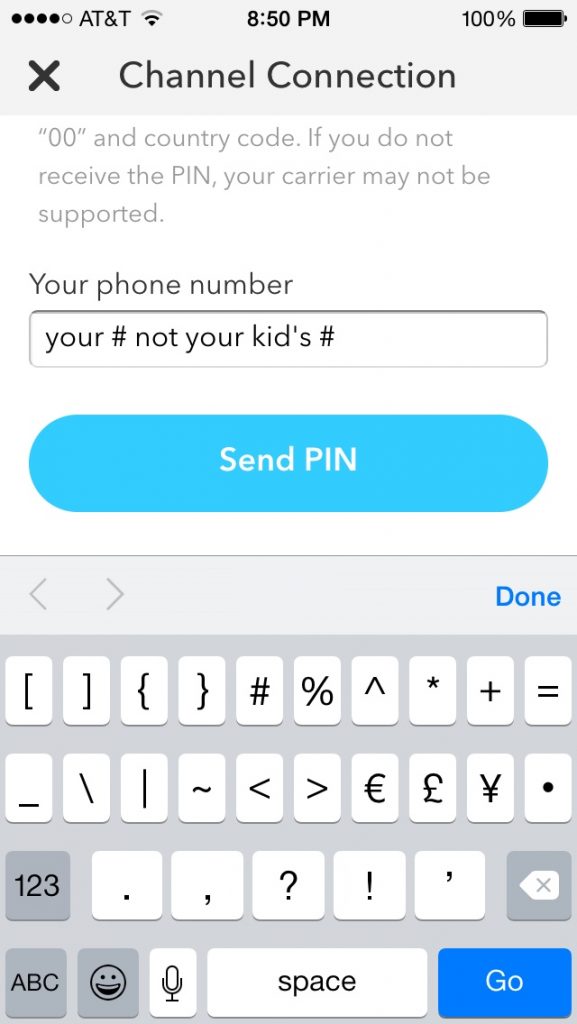
11. Put your number in the phone # field not your kids #. After you type your phone number in the field, click “Send PIN” to send your authentication code to your phone.
12. After you get the PIN on your phone type it in the recipe on your kid’s phone. You should get a connection “SMS connected!” message.

13. Once everything is authenticated, you will see your finished recipe. Click Continue.
You will now receive a text from your kid’s phone every time they enter school or leave school. You can set up additional recipes for other locations for places they are supposed to be or not supposed to be.